- MainWP KB
- Getting Started
- First Steps with MainWP
-
Getting Started
-
General
-
Extensions
- Boilerplate
- Code Snippets
- Favorites
- Comments
- MainWP Buddy
- Bulk Settings Manager
- UpdraftPlus Backups
- Advanced Uptime Monitor
- Post Plus
- Vulnerability Checker
- WordPress SEO
- Wordfence
- Page Speed
- Custom Post Types
- Staging
- Team Control
- Clone
- File Uploader
- Maintenance
- Virusdie
- BackWPup
- White Label
- Time Capsule
- Pro Reports
- Article Uploader
- iThemes Security
- Rocket
- Post Dripper
- Sucuri
- WooCommerce Status
- WP Compress
- Piwik
- Google Analytics
- WooCommerce Shortcuts
- Custom Dashboard
- Time Tracker
- Cost Tracker Assistant
- Fathom
- URL Extractor
- SSL Monitor
- Jetpack Scan
- Jetpack Protect
- Database Updater
- Termageddon
- Pressable
- Atarim
- Cache Control
- Domain Monitor
- Lighthouse
- Dashboard Lock
- Post SMTP
-
Troubleshooting
-
FAQs
-
Affiliates
-
Sites
-
Insights
-
Cost Tracker
-
Miscellaneous
Install MainWP Dashboard
Automatic Installation
- Go to the WP > Plugins page on your WordPress site that is dedicated to hosting the MainWP Dashboard plugin
- Click Add New to install a new plugin
- In the Search Field, enter “MainWP” and press the Enter key

- In search results, find the MainWP Dashboard plugin and click the Install Now button
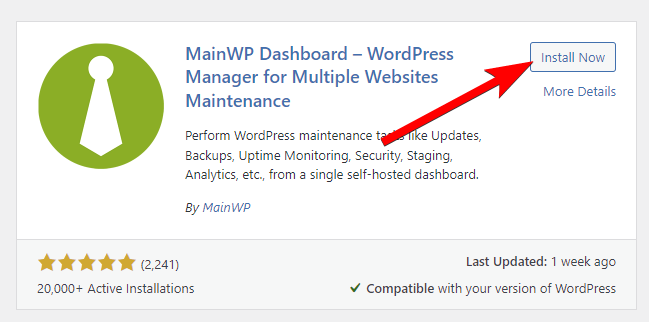
- Once the installation is done, click the Activate to activate the plugin.
Manual Installation
- Download the MainWP Dashboard plugin to your desktop.
- If downloaded as a zip archive, extract the plugin folder to your desktop.
- With your FTP program, upload the plugin folder to the wp-content/plugins folder in your WordPress (Dashboard site) directory online.
- Go to WP > Plugins screen and find the MainWP Dashboard plugin in the list.
- Click Activate to activate it.