White Label the MainWP Child Plugin on All Child Sites
- Login in to your MainWP Dashboard
- Go to the MainWP > Extensions > White Label page
- Locate the White Label tab

- Enter a custom Plugin Name
- Enter a custom Pugin Description
- Enter a custom Plugin URI
- Enter a custom Plugin Author
- Enter a custom Plugin Author URI
- Click the Save Settings button
If we take the following example:
- Plugin Name = Demo Name
- Plugin Description = Demo Description
- Plugin URI = http://demo.com
- Plugin Author = Demo Author
- Plugin Author URI = http://demo.com
The MainWP Child plugin will look like this in the WP > Plugins page on your child sites:

White Label the MainWP Child Plugin on a Single Site
- Login in to your MainWP Dashboard
- Go to the MainWP > Site > Manage page
- Locate a Child Site where you want to rebrand the MainWP Child plugin
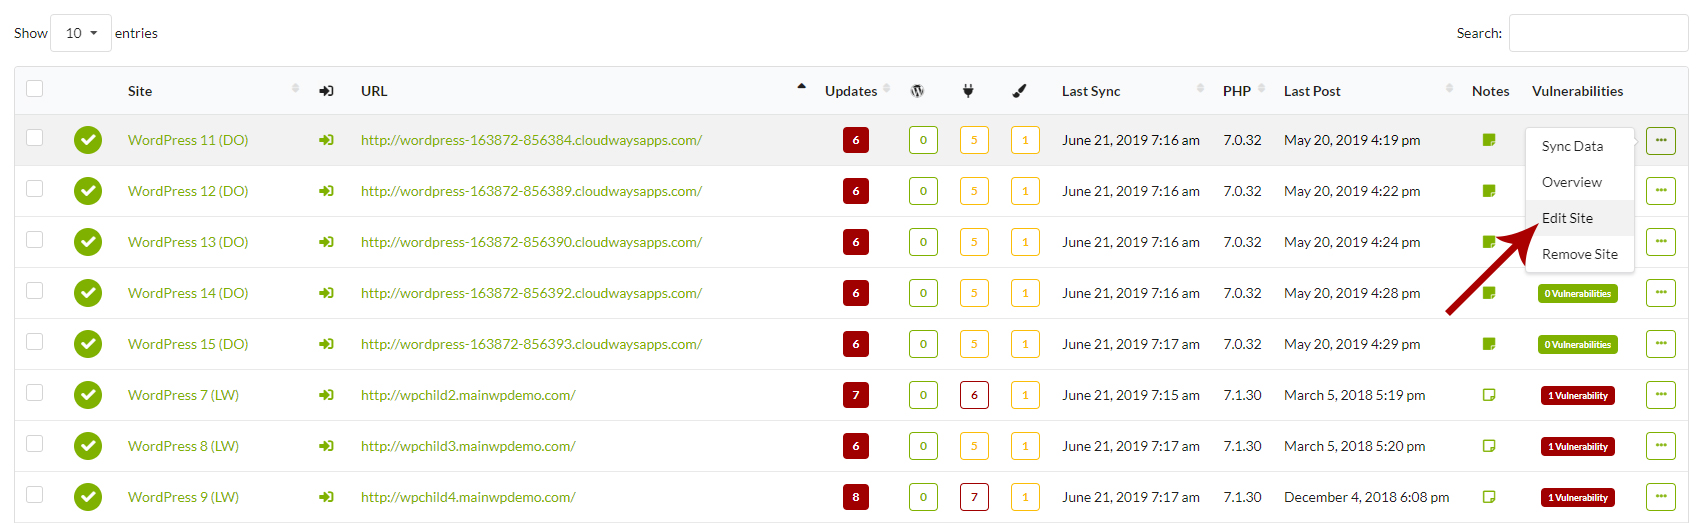
- Click the Edit action
- Go to the White Label tab
- Locate the General Settings option box
- Locate the Override General Settings option
- Enable it
- Locate the White Label option box
- Enter a custom Plugin Name
- Enter a custom Pugin Description
- Enter a custom Plugin URI
- Enter a custom Plugin Author
- Enter a custom Plugin Author URI
- Click the Save Settings button
Important Notes
You can leave text fields empty (all except for Plugin Name) if you don’t want to tweak the original info, but you don’t want to show it either. This will hide the unwanted data.
To remove applied white label settings, you can delete the Plugin Name and Save Settings. That will return the Child Plugin to its original state.
In case your child site gets disconnected from your MainWP Dashboard, and you are no longer able to remove applied white label options, please check the White Label Master Reset document to resolve the issue.